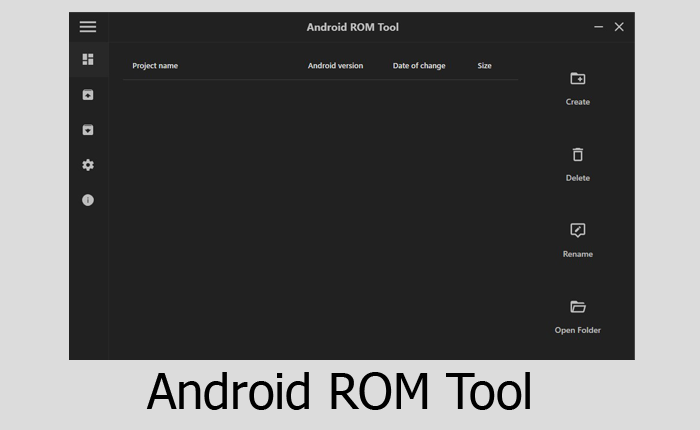
An Android ROM tool, also called a “ROM tool” or “ROM management tool,” is a flexible software program that helps Android users change, control, and keep up with the firmware and software on their devices.
You can get the download link for the latest version of the Android ROM Tool, including all the old versions. Also, we have provided instructions on how to use it.
Features
Flashing a custom ROM:
It lets users flash custom ROM, which are modified versions of the Android operating system that have extra features and better performance.
Rooting:
You can root your device with just one click.
Backup and Restore:
Users can make copies of their device’s data, apps, and system settings.
Flashing official firmware:
When official Android firmware updates aren’t available through over-the-air (OTA) updates, it can be used to directly flash official updates.
Customization:
You can change things about the device, like the system look, boot animation, fonts, icons, and more.
App Management:
Users can have more control over the application on their devices.
Download the Android ROM Tool’s latest version
We suggest you download the latest version of the tool for better stability. You can download the latest version of the Android ROM Tool using the G-Drive and Android File Host buttons below. Simply click on the button that you want to download.
| File Name: | Android_ROM_Tool v2.0.3.zip |
|---|---|
| File Size: | 49 MB |
| Version: | v2.0.3 Latest |
| Platform: | Windows (32-bit or 64-bit) |
| Old Version | LINK: 1 | LINK: 2 |
|---|---|---|
| v2.0.2 | AFH | G Drive |
| v2.0.1 | AFH | G Drive |
| v2.0.0 | AFH | G Drive |
| v1.9.1 | AFH | G Drive |
| v1.9.0 | AFH | G Drive |
| v1.8.9 | AFH | G Drive |
| v1.8.8 | AFH | G Drive |
| v1.8.7 | AFH | G Drive |
| v1.8.6 | AFH | G Drive |
| v1.8.5 | AFH | G Drive |
How to use the Android ROM Tool
- Enable Developer Options: On your Android device, enable Developer Options by going to “Settings” > “About Phone” and tapping on the build number several times (usually seven) until you see a message that Developer Options are enabled.
- Enable USB Debugging: In Developer Options, enable “USB Debugging.” This is necessary for most ROM tools to communicate with your device.
- Unlock Bootloader (if required): Some devices have locked bootloaders, which need to be unlocked before you can flash custom ROMs or perform certain tasks. You may need to consult your device’s manufacturer or community forums for instructions on unlocking the bootloader.
- Install the ROM Tool on Your Computer
- Download the required files. Make sure you download the correct ROM files for your device.
- Connect your Android device to your computer using a USB cable.
- Launch the ROM tool on your computer.
- Flashing Custom ROM:
In the ROM tool, select the “Install” or “Flash” option. Then navigate to the location of the custom ROM file you downloaded. Now follow the on-screen prompts to initiate the flashing process. Wait for the process to complete. - Rooting:
Use the ROM tool to install a rooting package like Magisk. Follow the on-screen instructions to root your device. - Once the task is completed, reboot your device.
Warning
Before flashing the device, back up your important data. Ensure your device has enough charge. If your device turns off during a flash, chances are the device is dead.
The Android ROM Tool is easy to use, but if you are an expert, it will be easier to do this work, and experts should do this work.
Notes
Virus Status: Before uploading this tool, we checked it with Kaspersky Antivirus, so don’t worry about it.
Credits: Full credit goes to K3V1991 (4PDA developer). They create and share this tool.
USB Driver: If you need a USB driver, please check out our latest USB driver.
Firmware: For any Firmware, please visit the official Firmware.